When was the last time you changed your microphone protector? Keep reading to learn more about one of our top Cochlear sound processor troubleshooting tips including how to swap to a new one in a few simple steps.
Maintaining your sound processor’s sound quality
Keeping your sound processor in good condition doesn’t always require a call to our customer service team or a trip to the clinic. Surprisingly, many sound quality issues reported by users often stem from a simple, overlooked component: the microphone protectors.
Did you know that one in five sound processors returned for sound quality concerns were in perfect working order?1 Their main fix: changing the microphone protectors. It’s a small but vital part that can significantly impact your hearing experience. Dust and dirt can clog or obstruct the protectors, disrupting sound from getting through to the actual microphones.
To maintain optimal sound quality, it’s crucial to replace your microphone protectors every three months, or earlier if you notice a loss in sound quality or the microphone protectors look dirty.
Certain conditions might prompt more frequent changes, for instance for those who reside in a humid climate or sweat frequently. If you or your child wear two sound processors, make sure you replace both sets of microphone protectors simultaneously.
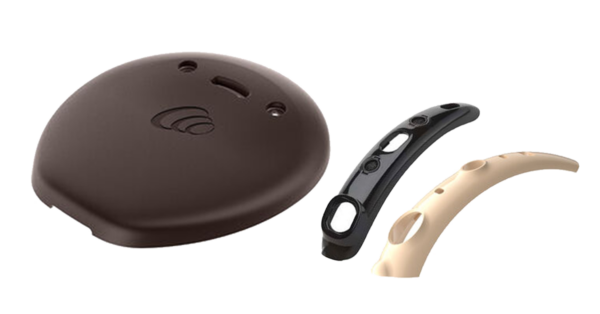
On the Cochlear™ Nucleus® 8 Sound Processor and the Cochlear Nucleus 7 Sound Processor, the microphone protectors are included in the microphone cover so they are integrated and easily replaced.
Here’s a simple two-step guide tailored to Nucleus 8 Sound Processor users:
Step 1: Swap out the old microphone cover
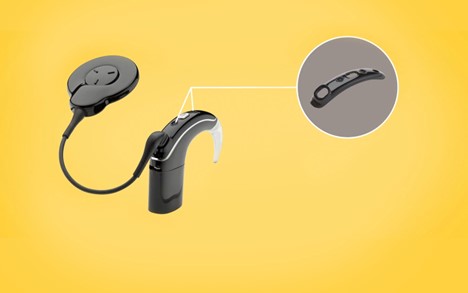
Gently pull the coil cable grip straight out of the sound processor without twisting. Lift the old microphone cover from the bottom edge using your fingernail until it comes off.
Step 2: Install the new microphone cover
Place the replacement microphone cover onto the sound processor, ensuring a secure fit. Apply firm pressure on both ends of the microphone cover until you feel a satisfying click. Re-insert the coil cable into the processor until it clicks, avoiding any twisting.
A helpful tip: Mark your calendar or set a reminder every three months for replacing your microphone covers.
Regularly changing your microphone protectors isn’t just a routine task; it’s a simple way to maintain the sound quality your processor provides. By staying proactive with this quick maintenance, you’ll ensure a seamless hearing experience and potentially save unnecessary trips for repairs.
CTA: Watch these how-to videos for your device:
If you have a Nucleus 8 Sound Processor
If you have a Nucleus 7 Sound Processor
If you have a Nucleus Kanso 2 Sound Processor
Find other sound processor how-to videos here.
If you need new microphone protectors, you can buy them online and have them delivered to your door through the Cochlear Store.